
Hey folks out there! We’ve been working hard at the lab on a huge installation: The LED Ceiling Project!
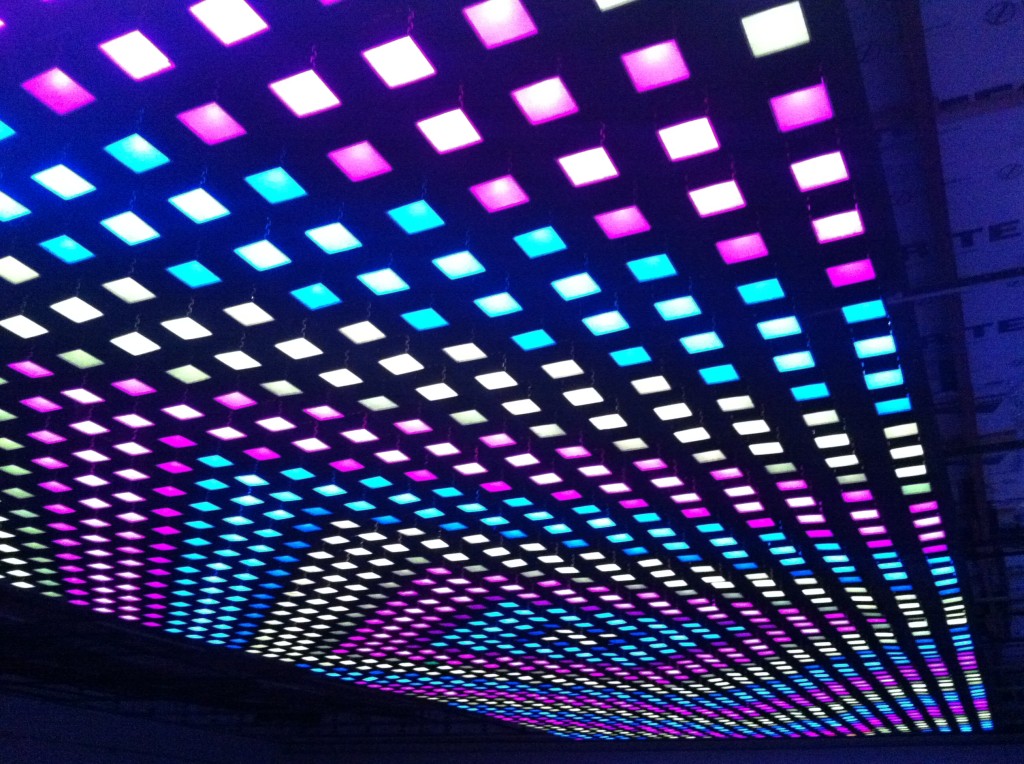
A 2880 LED pixel array, spanning 1600 sq ft of ceiling. Each pixel is encased in a three dimensional, laser-cut light diffuser cell, measuring 4 inches by 4 inches by 2 inches deep. Here’s a breakdown of the project over the last year:
11/25/12
First day! We all got together at the lab and made the Adafruit WS2801 strandtest program work on the Arduino! Man it was cold! It wasn’t “Idea Fab Labs” yet, and there was literally piles of rat shit in every corner, but this first gathering sowed the seeds for what IFL has become. Right from the start we knew we wanted to use the ws2801 shift register LED pixels, and we were going to utilize the existing drop-ceiling frame to hold panels of lights so it would be modular. Erin laser cut out some fiberboard prototype boards at his house. He brought those and a pile of LED pixels down to the space and taught a “class” on arduinos and LED pixels.
Our first workshop! 7 or 8 people were there. We had some idea of what we were going to do but it evolved significantly from this point.

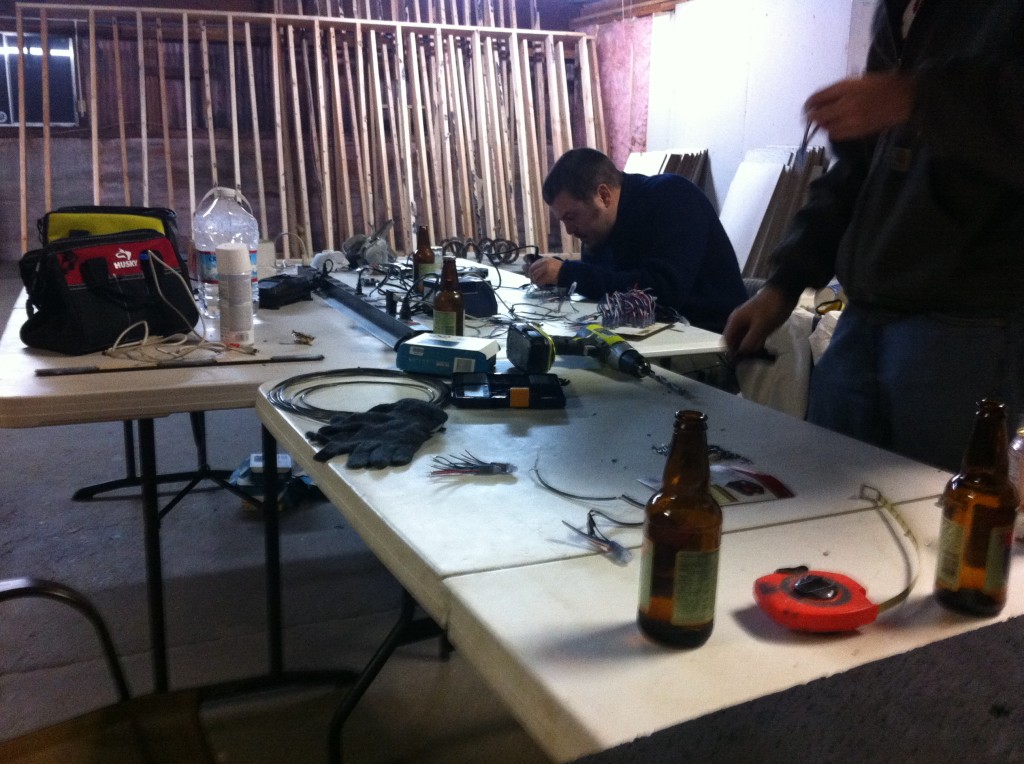
The crew working on possible layouts and power strategies for the project.
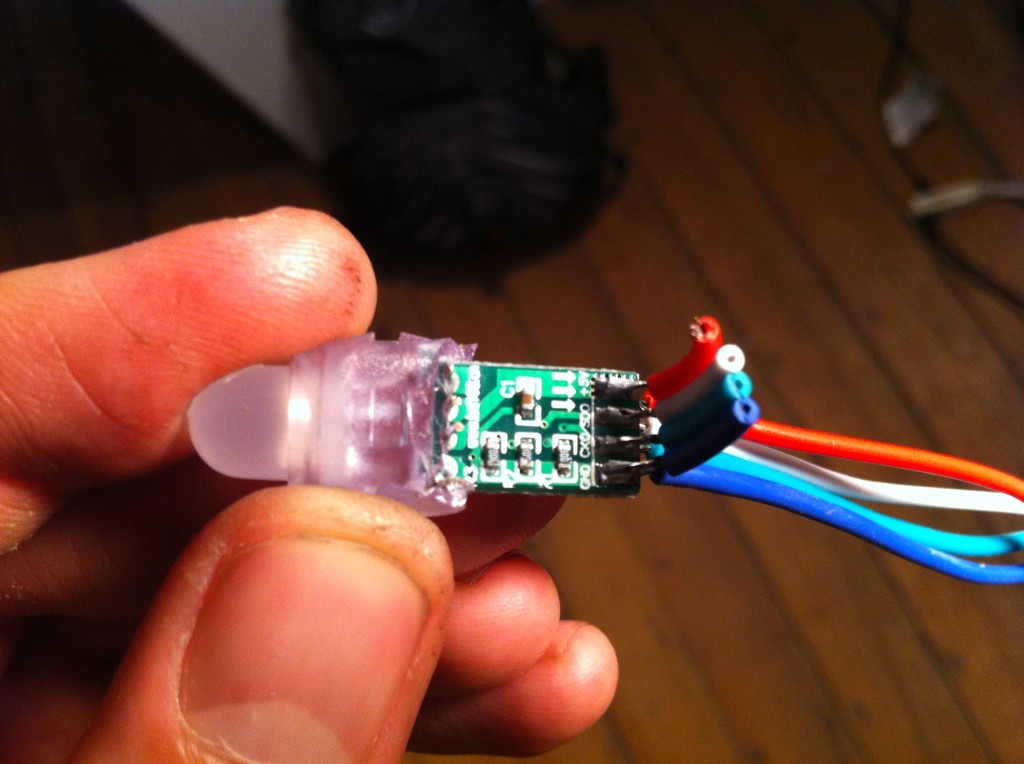
The underside of a WS2801 LED Pixel.
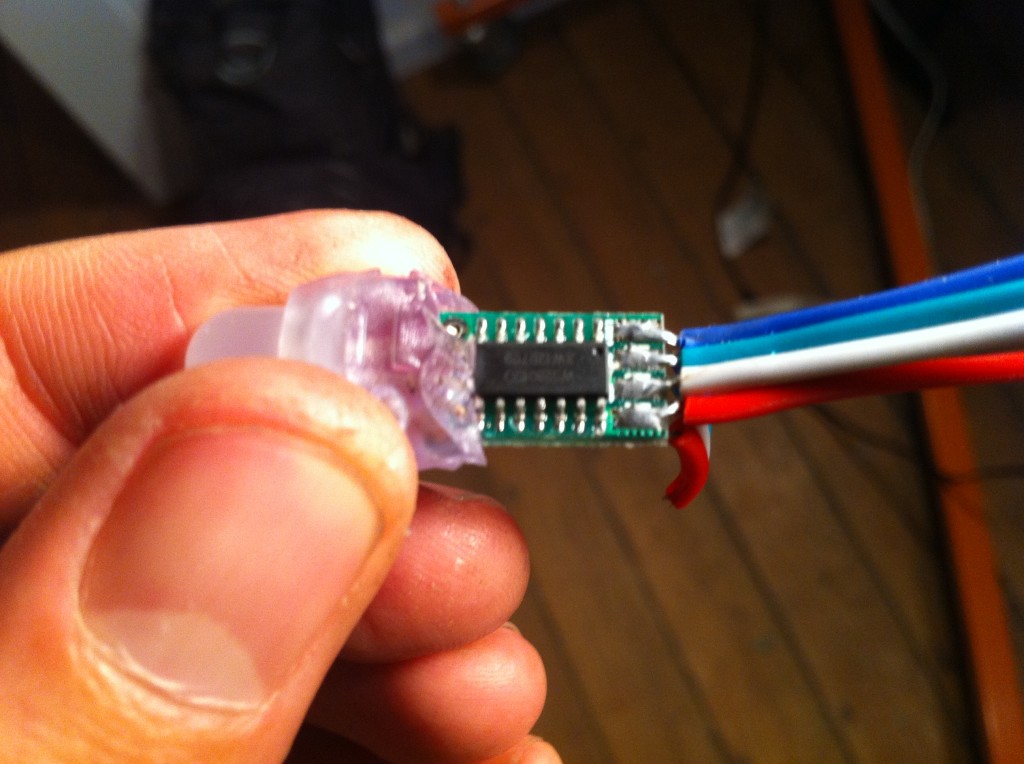
The topside of a WS2801 LED Pixel. Shift register chip exposed.
11/27/12
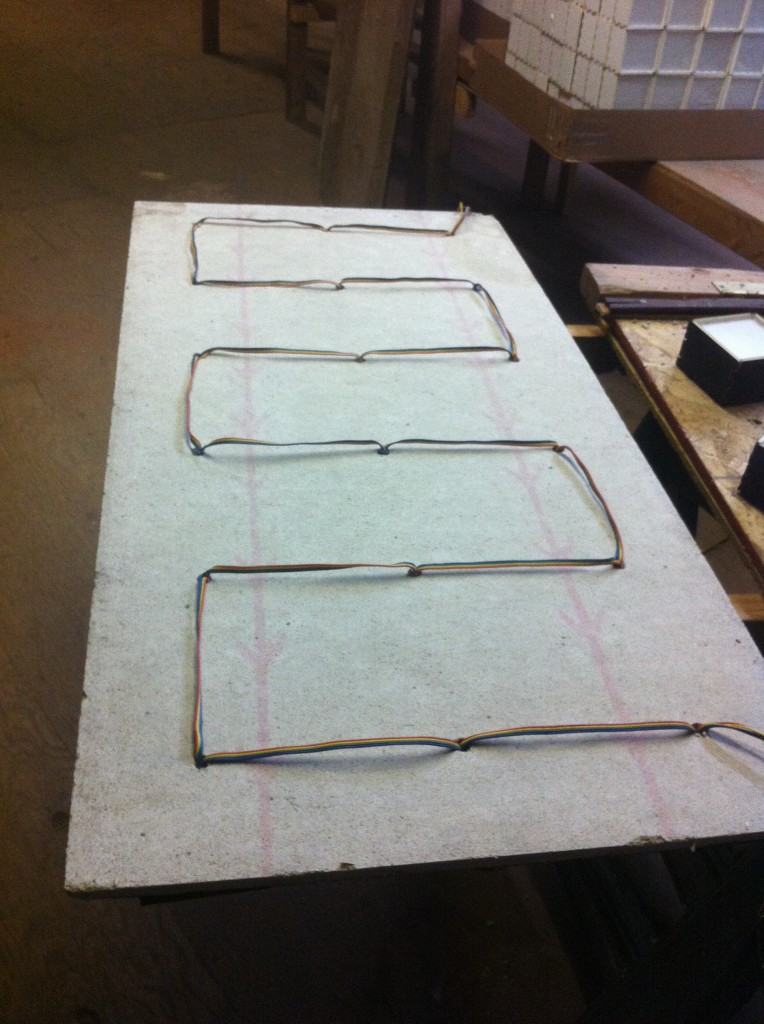
This is our first test panel! This baby took 5 hours for us to build with 4 people! The pixels did not have long enough wire lengths to stretch 4 8 inches. We had to cut each wire on each pixel and solder extra long wires to them so they could reach across to the next pixel. (We later ordered custom length wires on our ws2801s so we didn’t have to do this to every panel!)
The physical design went through a couple of phases:
First, we tried square reflector panels behind each pixel.
That looked pretty good….
Meanwhile, Sean, Matt, and Jordan were working on some crucial details…..
Many things were discussed…..
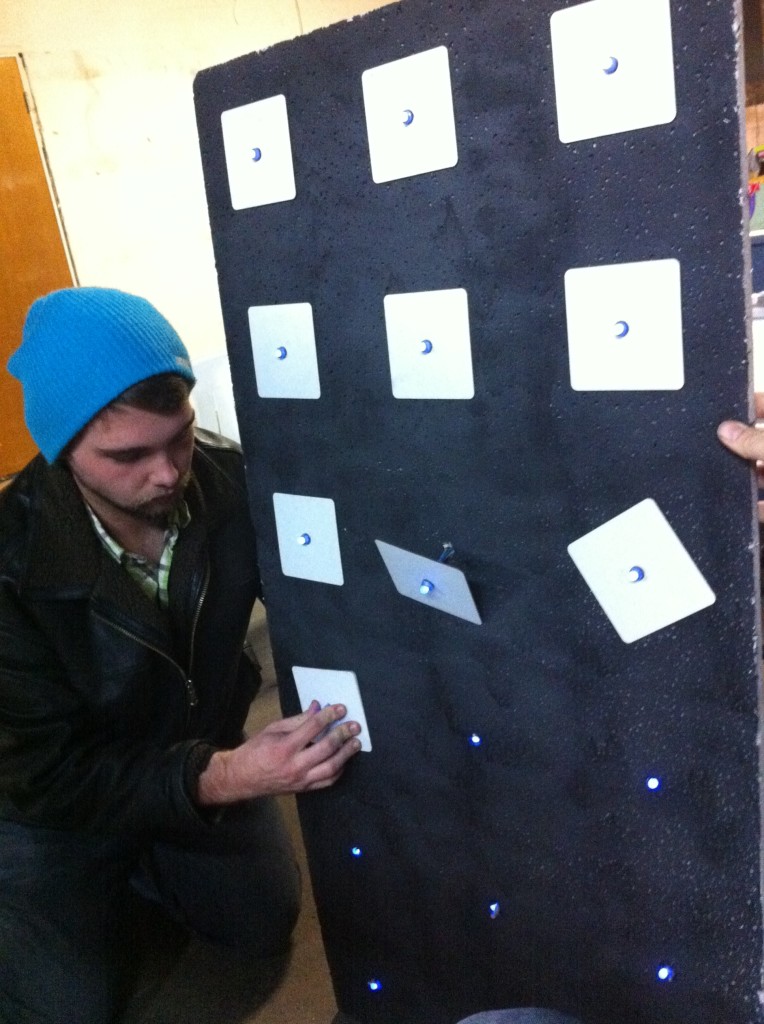
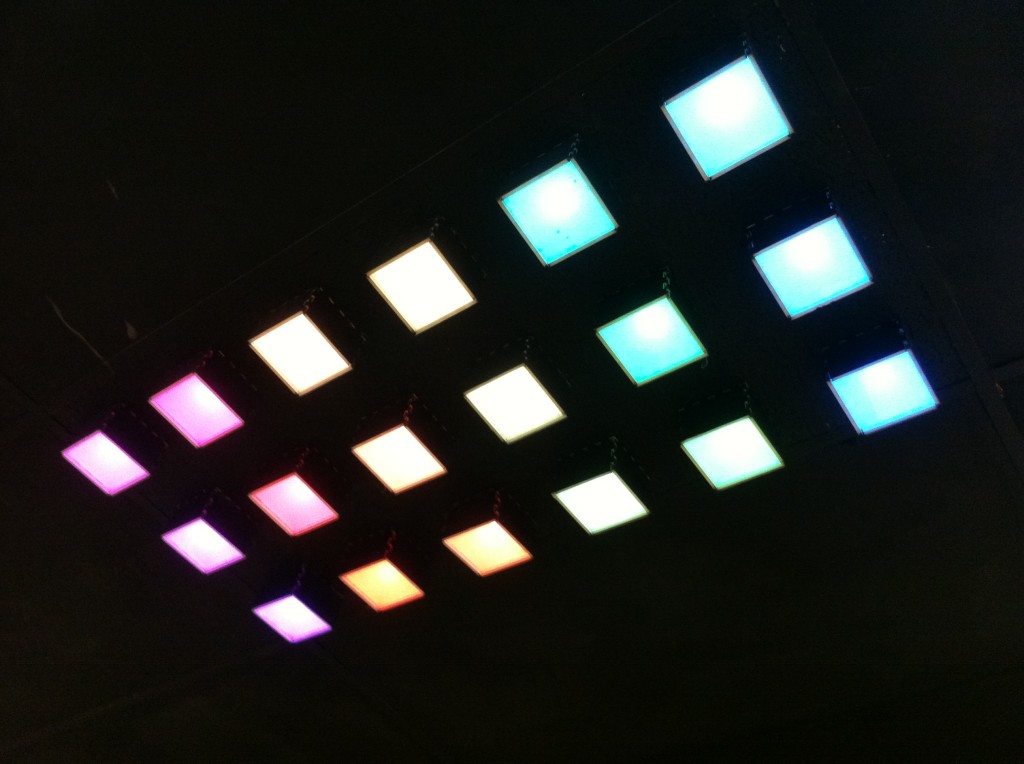
We weren’t quite satisfied with the panel prototype, so we tried a few different options and put them all on one panel for side by side comparison.
1/12/13
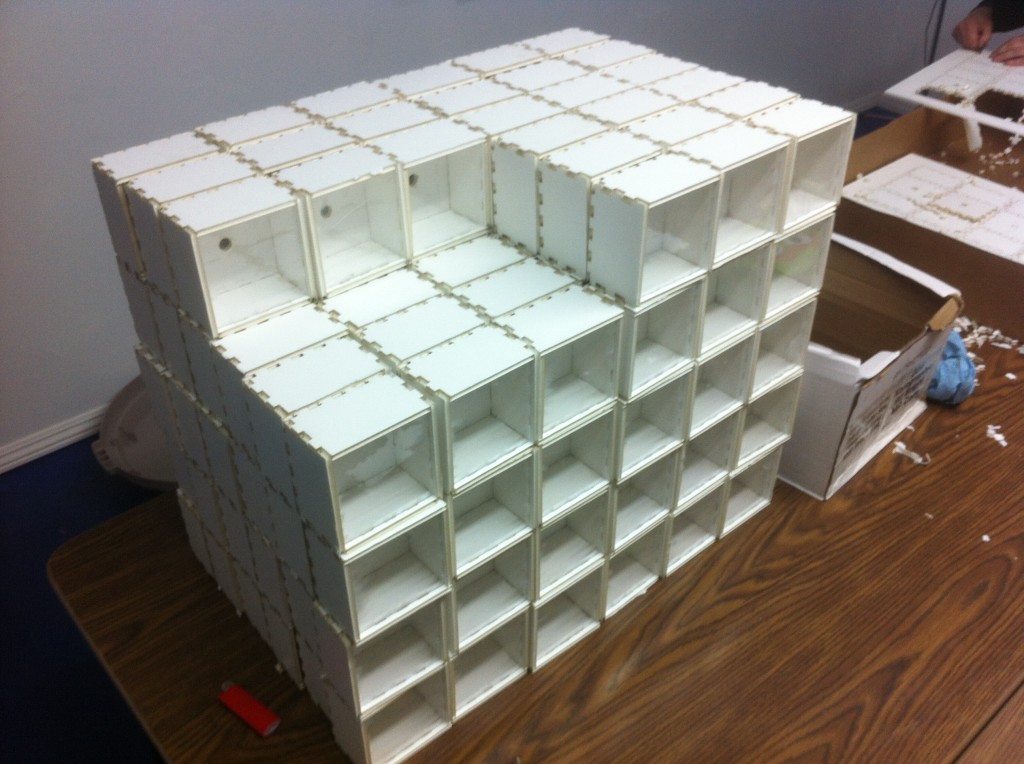
We all agreed on a final design! A three dimensional box with a laser-cut CD jewel case as a lens with some tracing paper to diffuse the light…………..and we started building!
Sean figured out an assembly line system…
Our first panel with boxes was complete. We still hadn’t decided to paint all the boxes black at this point.
Here’s what the back of a panel looks like.
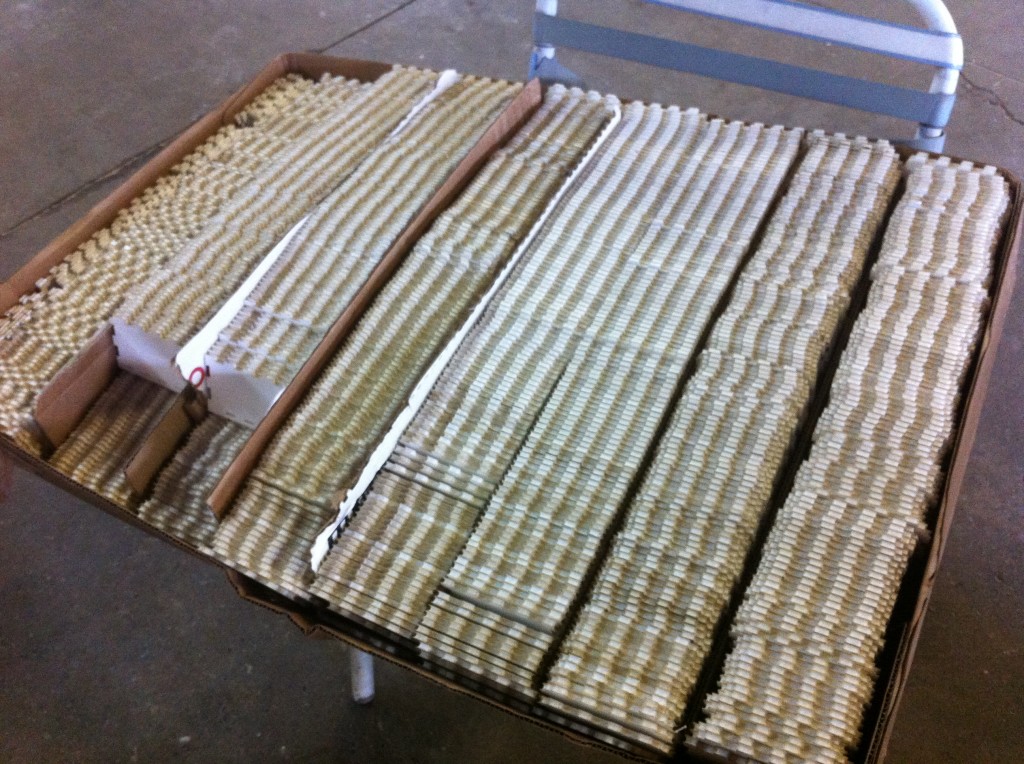
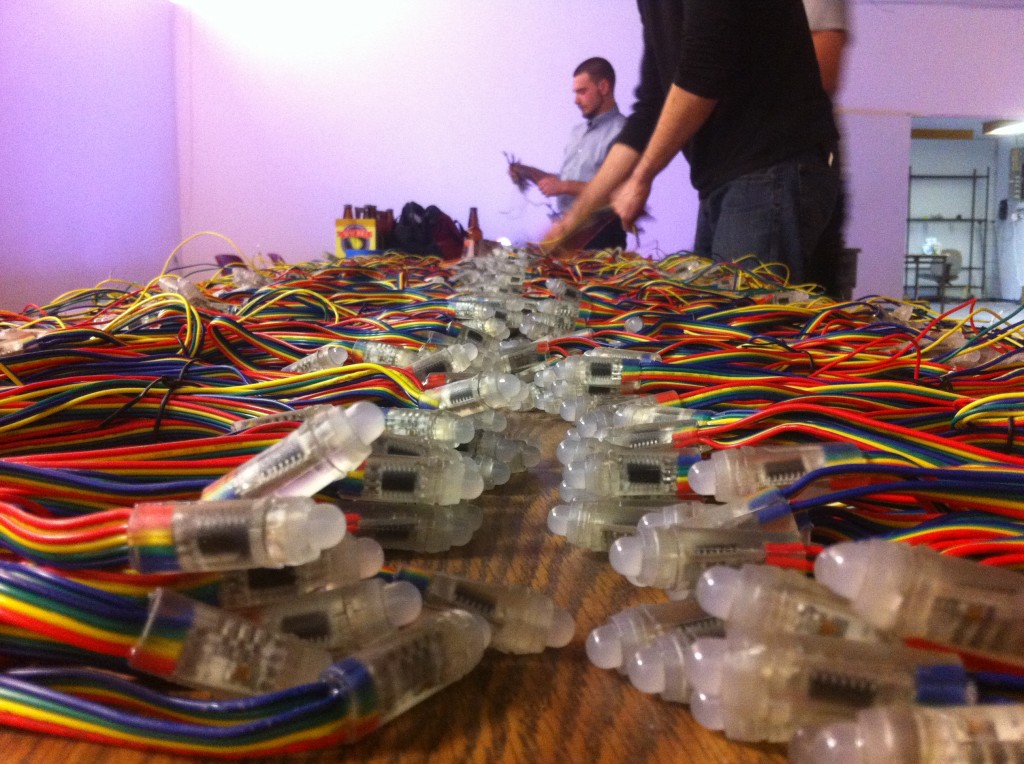
We made the leap and ordered a TON of ws2801s with custom length wires from China. James, Jordan and Erin prepping the lights for a test run.
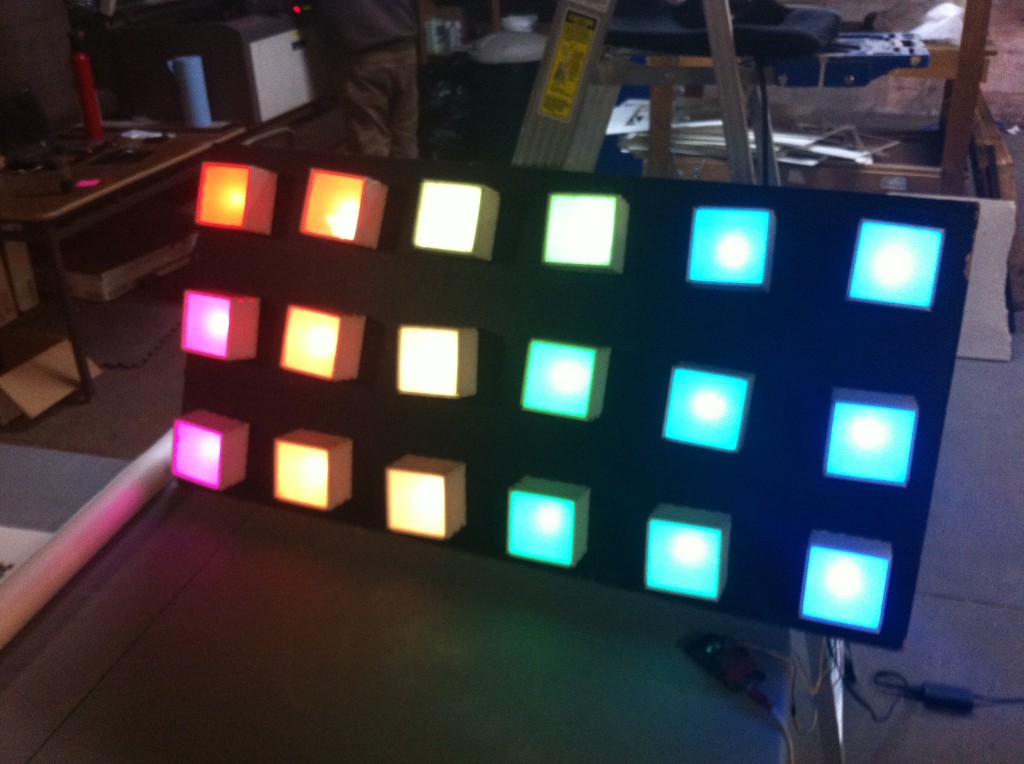
Sean test runs a few thousand pixels at once with an Arduino and then a Raspberry Pi. Notice the copper + and – rails on the tables.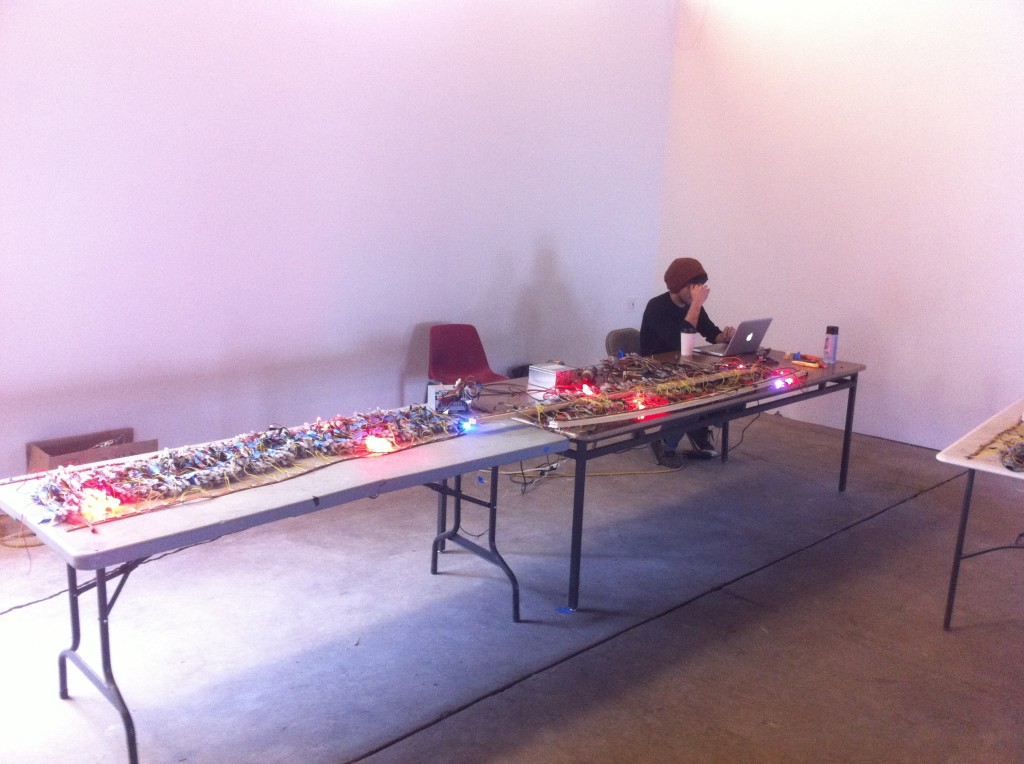
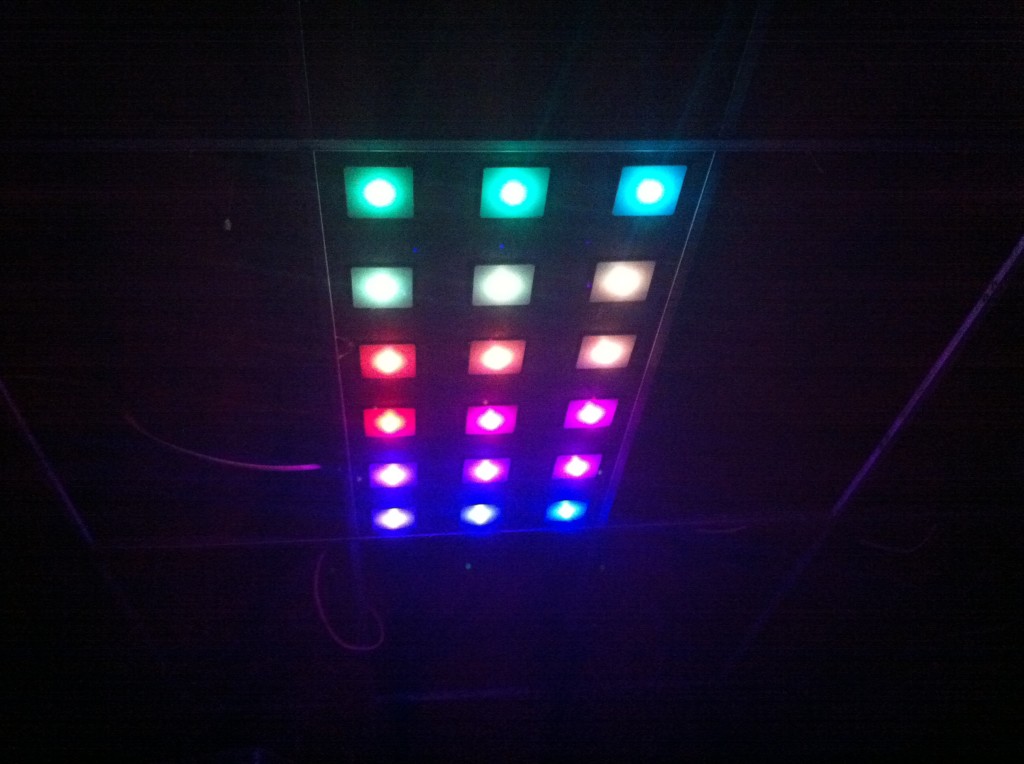
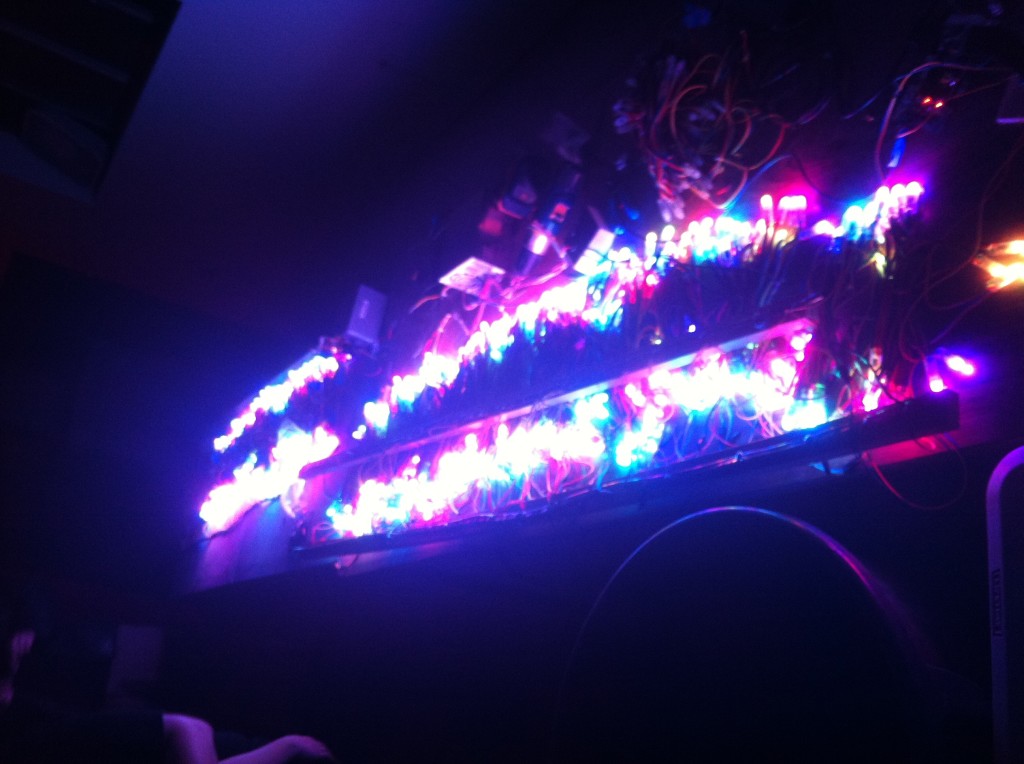
Success looks pretty.
3/11/13
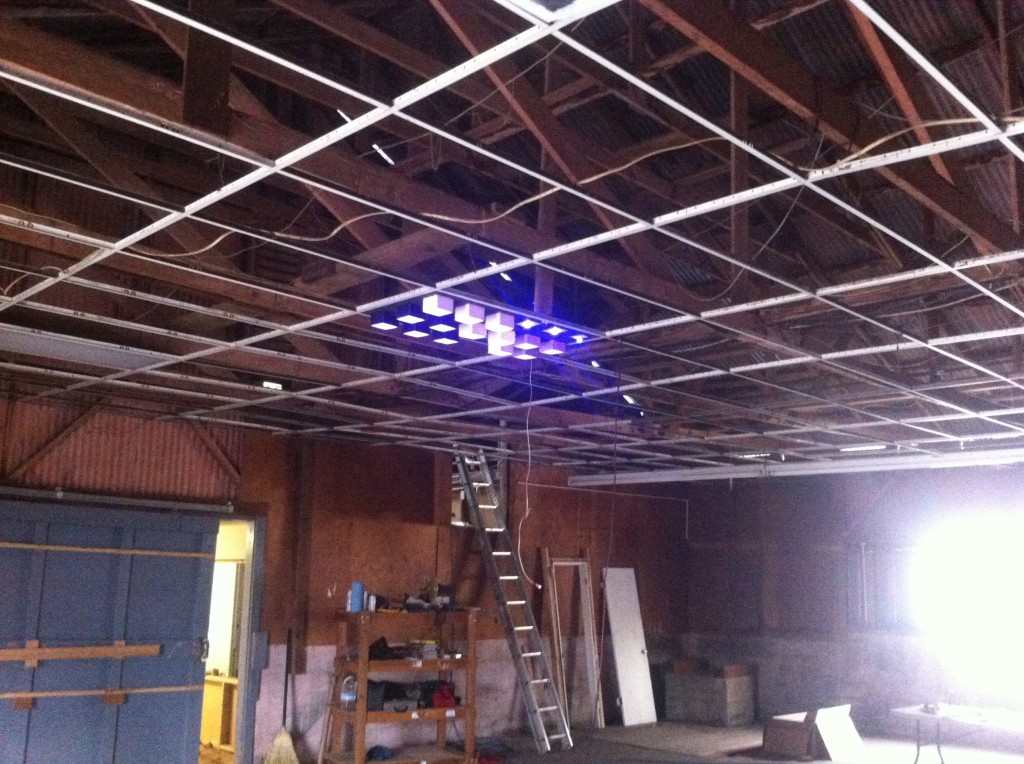
We decided to paint the boxes black. The final cell design is in place. We stood around for hours in a cold, dark warehouse gazing upon this thing.
4/16/13
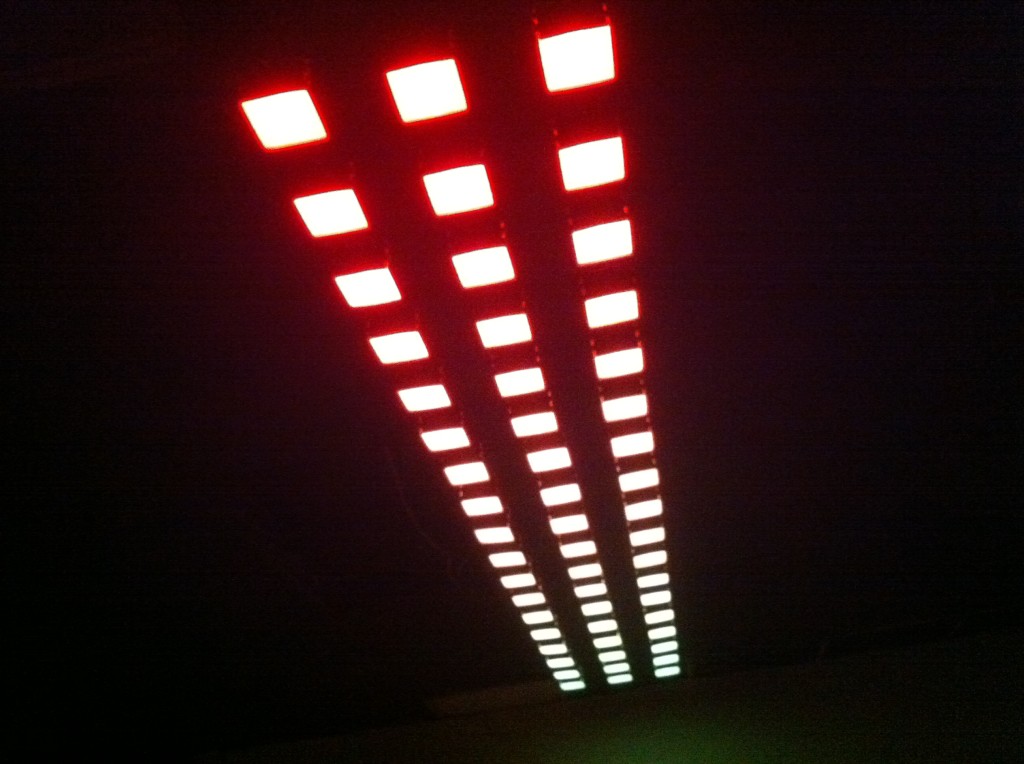
Three…
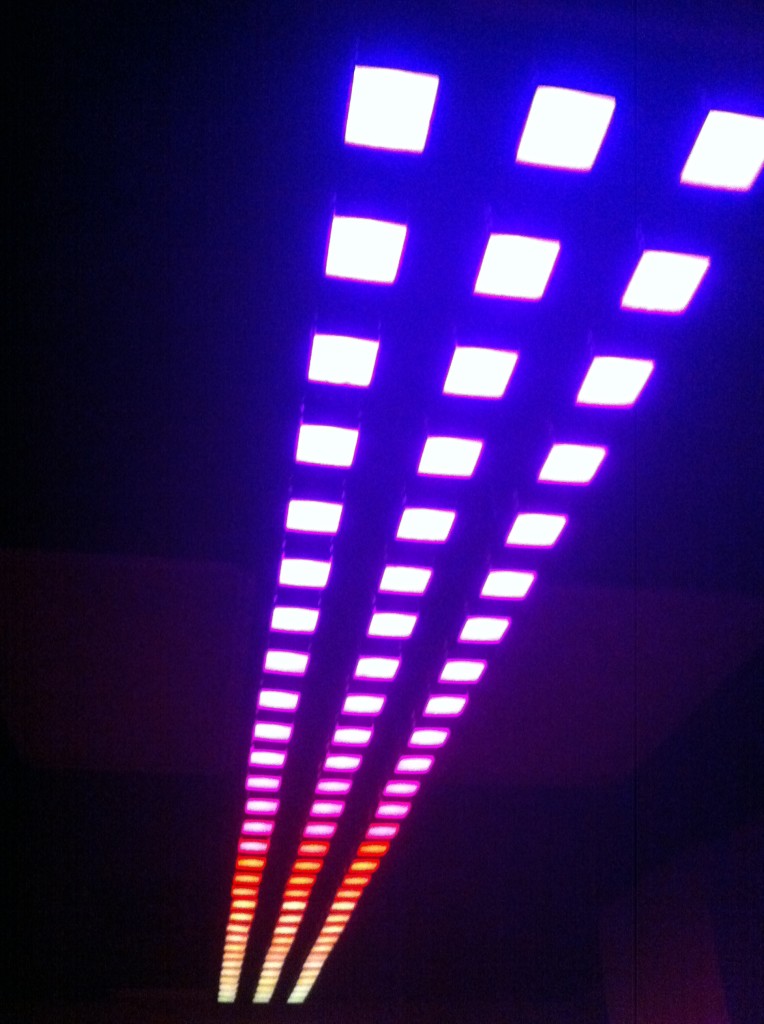
Five…
One Comment on “LED Ceiling Project Part 1”
I love these lights..the first show…it was amazing and now I am so excited to come soon and see the rest…you guys are all amazing and as a mom I cant be more excited that my son gets the opportunity to be a part of this wonderful group of people and Ideas…