
By Shyna Deepak
Every year CSU Chico hosts its annual 10x10x20 art show. The proceeds go back to the art department and the woodshop to help keep it funded. Each panel is 10×10 and costs $20 to purchase.
Every year for the past four years, I’ve wanted to enter but never had the confidence to do so… that is, until this year. I picked up a wooden panel and immediately had the idea to incorporate the use of the lab’s laser cutter. I thought having a laser cut image might make this piece stand out more than others. My original idea was to simply etch a door onto the panel, therefore the panel would have the wooden texture of a door and it would be ironic or something like that. I mean, I had an extra doorknob laying around the house, might as well put it to good use right?
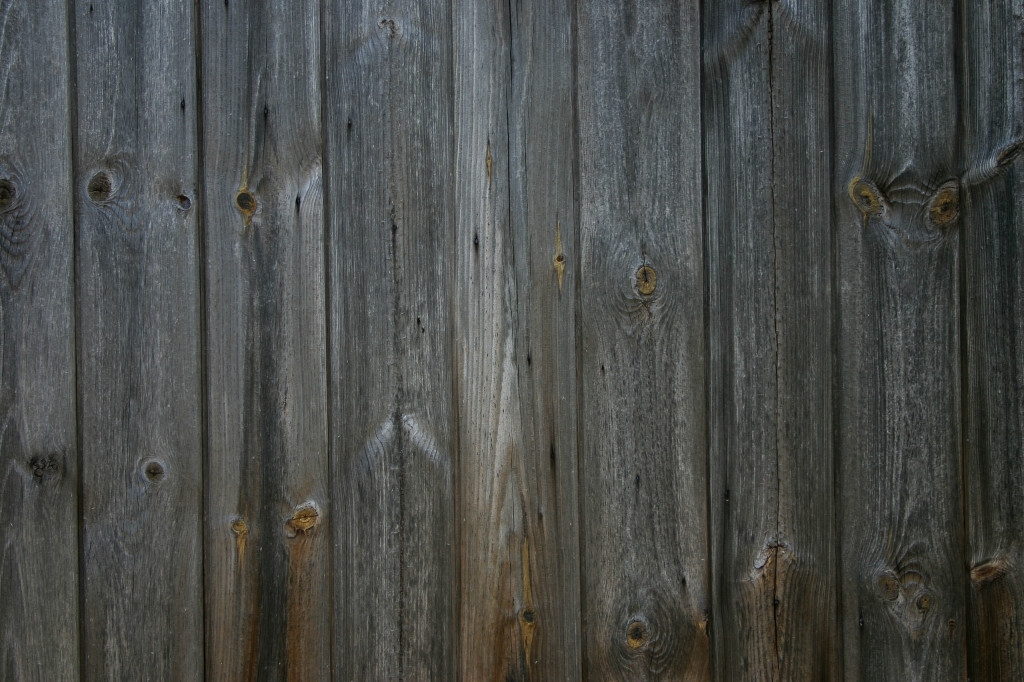
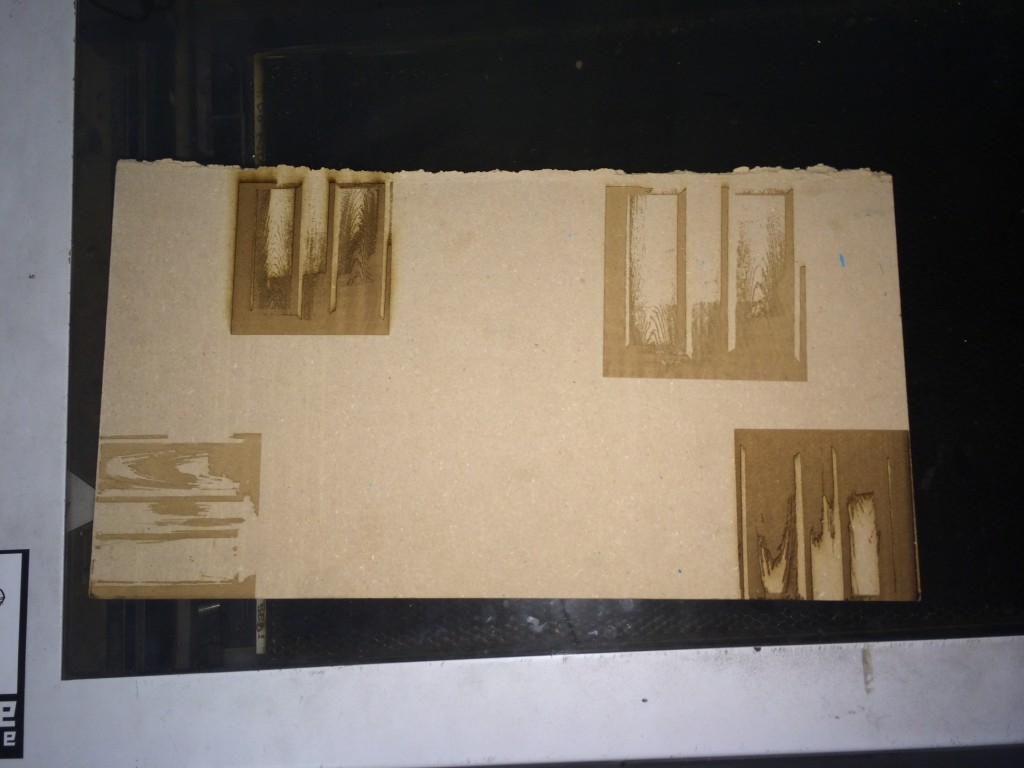
So I searched and searched. Tested and tested. I imprinted doors onto my panel, and it ended up looking exactly like the panel. I found images of fences or woodgrain and did the same thing and was still not getting a beveled look like I wanted. I spent about a week testing different textures onto this wood. NOTHING WAS WORKING. Upset and running out of time, I decided the day before the show I would just work with what I had.
I spray painted my panel black in hopes that the it would chip away at the black causing a the wood to pop out more against the black.
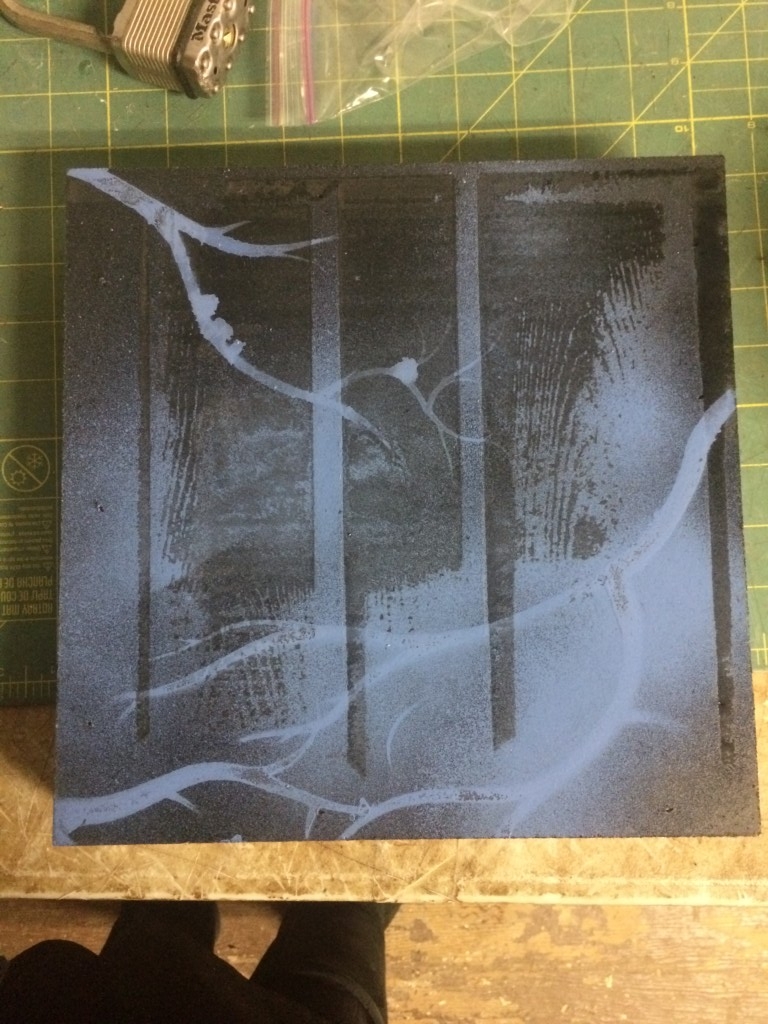
That, of course didn’t work. I came in the next morning before I was supposed to submit my piece and I ran the same image again, engraving onto the panel for the second time (power 100, Speed 40). This didn’t work either. The black strongly stood its ground. In a rush, I decided I might as well just mess around with it- what was the worst that could happen? I found some blue spray paint and sprayed the black engraved panel.
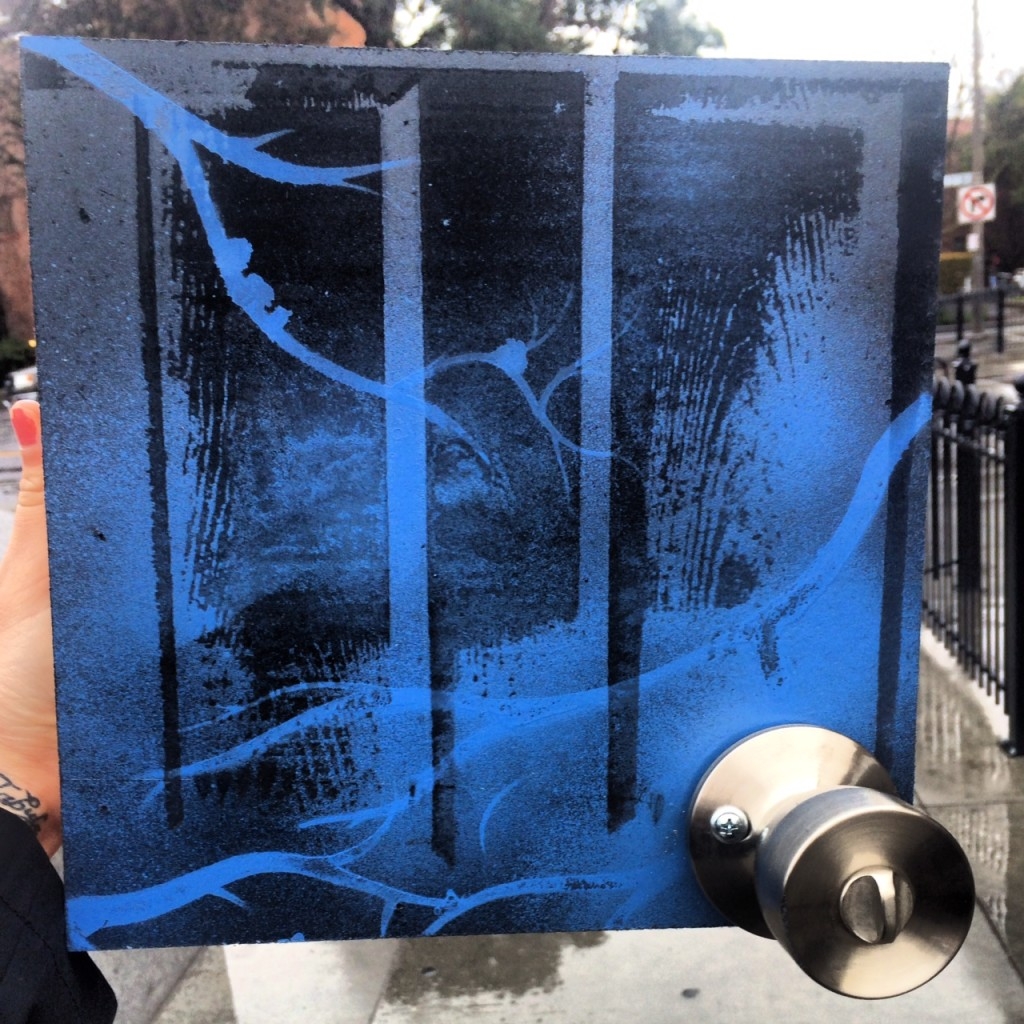
This actually made the grain effect pop out! I was stoked! In the wood scraps pile, I found cut-outs for what what looked like trees. I thought- what the heck, might as well. I used the cut out as a stencil and sprayed it on top of my “door.” It actually began to look pretty cool!
For the final touch, I wanted to add a doorknob. I spent nearly 30 minutes using epoxy, which was not holding. With only 30 minutes to spare, fellow intern Dylan, helped me use the power drill and lock the screws into place to secure the doorknob. I had 15 minutes left! I ran to Ayres hall and submitted my final piece.

By the time all of the struggle was over, I was really happy with my final product. This piece was one of the first ten to be bought once the panels went on sale.
And guess what? I got an honorable mention during the announcement of winners.
I guess things turned out in my favor after all.